
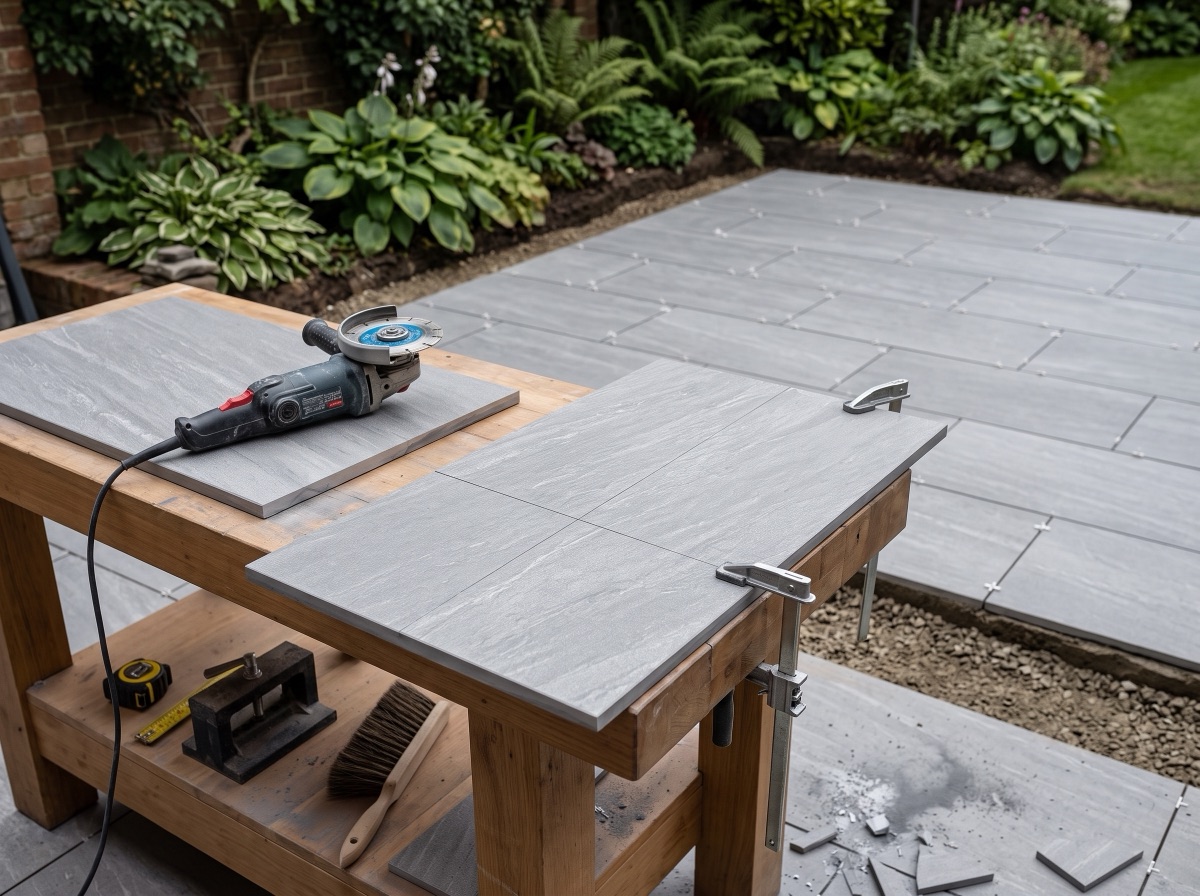
Your laying pattern sets your wastage: allow roughly 5–10% extra for stack or stretcher bond, ~15% for herringbone 45°, ~10% for herringbone 90°, basket weave and mixed-size packs, and next to nothing for stepping stones. Cut porcelain wet with a continuous-rim diamond blade; sandstone is more forgiving.
The laying pattern you choose decides how many cuts you make — and the cuts decide how much extra to order. Simple grids and brickwork layouts need around 5–10% on top of your measured area; a 45° herringbone needs around 15% because every perimeter slab gets an angled cut; stepping stones need almost nothing. This guide covers how to cut porcelain and natural stone properly and safely, what each of the seven classic patterns means for your order, and the arithmetic to get the quantity right first time.
Cutting porcelain vs cutting sandstone
Porcelain and natural sandstone behave very differently under the blade, and your pattern choice multiplies whichever behaviour you get:
- Porcelain is dense and vitrified — it doesn't split, it shatters. Cut it with a wet saw (bridge saw) or angle grinder fitted with a continuous-rim diamond blade rated for porcelain. Tape the line, score a shallow first pass, then deepen the cut in two or three slow passes; forcing one deep pass is how edges chip. A sliding-bed wet saw gives factory-quality edges and is the hire that pays for itself on a herringbone job with dozens of visible cuts.
- Indian sandstone is softer and far more forgiving. A general-purpose segmented or turbo diamond blade in a 230mm angle grinder cuts it quickly; thick riven slabs are cut from the face as deep as the tool allows, then flipped and finished from the back so the visible edge stays crisp. A hammer and bolster can suit rustic riven styles — never porcelain.
- Scoring first matters on both. A few millimetres of scored channel guides every later pass and is the single biggest difference between a chipped edge and a clean one.
The full technique — blade choice, supporting the slab, curves and notches — is in the how to cut paving slabs guide.
Safety: the dust is the real danger
Cutting stone, concrete or porcelain releases respirable crystalline silica (RCS) — dust fine enough to scar lungs permanently. Professional sites treat dry cutting as a disciplinary matter, and you should treat it the same way at home:
- Cut wet. Water fed to the blade suppresses the dust at source, keeps the blade cool and improves the cut. If you must cut dry, use on-tool extraction and an FFP3-rated mask — a nuisance dust mask is not protection.
- PPE every cut: impact-rated glasses or a visor, ear defenders, gloves and boots. A disc cutter is genuinely loud and slab edges are sharp.
- Work clear of others, especially downwind, and never remove a blade guard.
The seven laying patterns — and what each does to your order
Top-down, here is each pattern with the extra allowance the trade typically works to. The percentages are rules of thumb for a typical rectangular area: lots of edges, curves or obstacles push you to the top of the range.
Stack bond
Slabs line up in a straight grid, with every joint running unbroken in both directions. Crisp and contemporary — and unforgiving of sloppy setting-out, because every misalignment shows. Cuts only fall at the perimeter, so allow around 5–10% extra for cuts and breakages.
Stretcher (running) bond
Each row is offset by half a slab, like brickwork. The most common and most forgiving layout — staggered joints disguise small size variations. Allow around 5–10% extra; the offcut that ends one row often starts the next, so little is wasted.
Herringbone 45°
The classic zigzag laid diagonally at 45° to the patio edge. The strongest interlock and the most dramatic look — but every perimeter slab needs an angled cut. Allow around 15% extra: the diagonal edge cuts are numerous and the triangular offcuts rarely reuse.
Herringbone 90°
The same zigzag turned square to the edges. You keep the interlocked look while the perimeter cuts stay straight and simple. Allow around 10% extra — square edge cuts mean the offcuts reuse far more often than at 45°.
Basket weave
Pairs of slabs laid in alternating directions, like a woven basket. A traditional cottage-garden look that works best with 2:1 slabs. Allow around 10% extra for the perimeter cuts and pattern matching.
Mixed-size 'Roman' pattern
A repeating layout of three or four slab sizes — the classic patio-pack look. Buy project packs in the maker's mixed ratio rather than picking sizes yourself. Follow the pack ratios and allow around 10% extra; running one size short mid-pattern is the real risk.
Stepping stones
Individual slabs spaced out through grass or gravel to form a path. No jointing and usually no cutting at all. Minimal extra needed — around 5%, or simply a spare slab or two in case of damage.
Worked examples: turning a percentage into an order
The arithmetic is the same every time: measured area × (1 + wastage) → slabs → round up → whole packs.
- 20 m² patio, stretcher bond at 10%: 20 × 1.10 = 22 m² to order. With a 900×600 slab (0.54 m² each), 22 ÷ 0.54 = 40.7 → round up to 41 slabs.
- The same patio in herringbone 45° at 15%: 20 × 1.15 = 23 m². 23 ÷ 0.54 = 42.6 → 43 slabs — two more than the stretcher-bond job, purely for the angled edge cuts.
- 15 m² in a mixed-size pack at 10%: 15 × 1.10 = 16.5 m². Divide by the pack coverage printed on the product page and round up to whole packs — never break the size ratio by ordering odd singles.
- Stepping-stone path: skip the percentage and count stones — a stone roughly every 60–65 cm of path walks naturally, so an 8 m path needs about 12–13 stones. Add a spare or two in case of damage.
Rounding up to whole slabs and whole packs is deliberate: running out of matching stone mid-job costs far more than a spare slab, and shade can vary between production batches. The coverage calculator does this rounding for you with real pack sizes — and its laying-pattern picker applies these same wastage figures at a click.
Edge and border cuts: plan where the cuts land
Wastage isn't just how many cuts you make — it's where they land:
- Set out from the most visible edge (usually the house or the main sight line) so full slabs face you and cuts hide against walls, borders and planting.
- A soldier-course border tames a diagonal pattern. Running a single straight border around a herringbone field means the angled cuts die into the border line instead of a wavy edge — it looks sharper and the cut pieces are less conspicuous.
- Never lay a sliver. Any cut piece under about 100mm wide looks wrong and breaks in service; adjust the starting line so the cut is shared across two slabs instead.
- Cut edges belong where they're least seen — factory edges face the open joints.
Before you order
Run your measurements through the coverage calculator with the wastage figure for your pattern, and order samples first — colour and surface texture read very differently in your own garden light than on a screen, and a pattern with many cut edges shows the slab's body colour more than you might expect.
Work out your exact order in seconds
Our coverage calculator turns your patio size into the precise number of slabs and packs — 10% waste allowance included.
Free delivery, £0.98 samples, breakage guarantee
Every order ships free with no minimum spend. Order a £0.98 sample first, choose your delivery date, and if a slab arrives broken we replace it — no quibbling.
Frequently asked questions
How much extra paving should I order for cuts?
It depends on the pattern: around 5–10% extra for stack or stretcher bond, about 10% for herringbone 90°, basket weave and mixed-size packs, and about 15% for herringbone 45°, where every perimeter slab needs an angled cut. Stepping stones need almost nothing — a spare slab or two.
Which laying pattern wastes the least paving?
Stepping stones waste the least because there is usually no cutting at all. Of the jointed patterns, stack bond and stretcher bond are the most economical: cuts only fall at the perimeter and the offcut ending one row often starts the next.
Why does 45° herringbone need 15% extra?
Because the slabs meet every edge at an angle, each perimeter piece needs a mitred cut and the triangular offcuts rarely fit anywhere else. Turning the same pattern square to the edges (herringbone 90°) brings the allowance back to around 10%.
Can you lay porcelain paving in a herringbone pattern?
Yes — a single-size rectangular porcelain slab (ideally 2:1, so the pattern locks together) works well. Cut it wet with a porcelain-rated continuous-rim diamond blade, score first and feed slowly; a sliding-bed wet saw gives the cleanest edges on a job with this many visible cuts.
What is the best way to cut porcelain paving slabs?
A wet saw or an angle grinder with a continuous-rim diamond blade rated for porcelain. Tape and score the line first, then deepen the cut in slow passes. Always cut wet or with extraction — the silica dust from dry cutting is a genuine lung hazard — and wear an FFP3 mask if any dust escapes.
Do mixed-size patio packs need a laying plan?
Yes. Mixed-size packs are supplied in a fixed ratio of sizes, so follow a repeating layout plan and order whole packs with about 10% spare. Improvising the layout is how one size runs out mid-pattern while another piles up.