
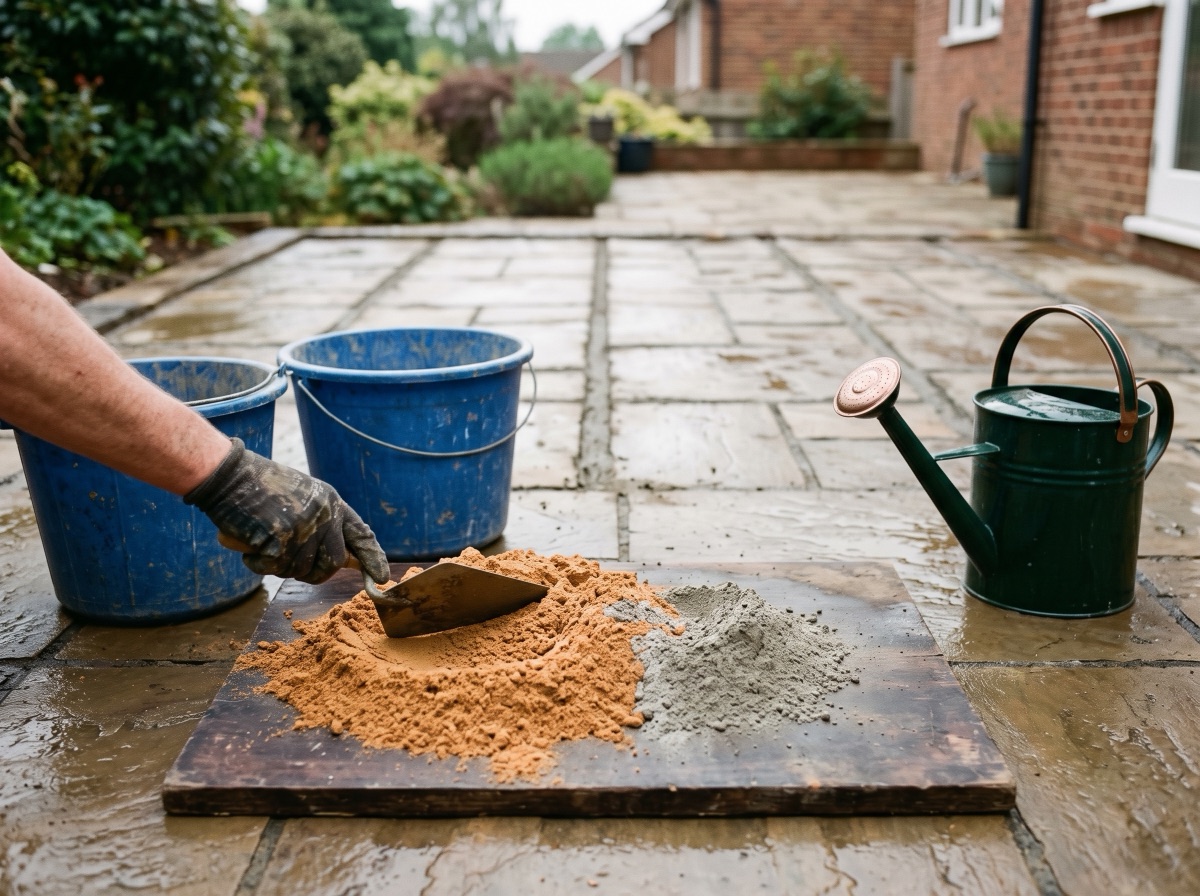
The standard patio pointing mix is 4:1 sharp sand to cement, mixed semi-dry for traditional pointing or wetter for a slurry. A 3:1 mix gives a stronger, denser joint for driveways and heavy wear. Here are the ratios, consistencies and methods — and when a brush-in compound beats mixing your own.
For pointing patio joints, mix 4 parts sharp sand to 1 part cement. Go 3:1 where the joints take heavier wear, keep the mix semi-dry (it should ball in your hand without dripping) for traditional pointing, and never mix more than you can use in about an hour. That's the whole recipe — the rest of this guide is about consistency, technique and the honest comparison with modern brush-in compounds.
The ratios, by job
- 4:1 sharp sand : cement — the general-purpose patio pointing mix. Strong, workable and forgiving; right for almost all foot-traffic paving.
- 3:1 sharp sand : cement — a denser, stronger joint for driveways, entrances and anywhere joints take wheel or constant wear.
- Building sand blends — some layers blend in building sand for a smoother struck face on narrow joints. Fine in moderation, but building sand alone makes a weaker joint: keep sharp sand as the backbone.
Measure by volume with a bucket, not by shovel — shovels lie. If you want the full background on what each ingredient does, the mixing-ratios guide covers mortar and concrete chemistry in plain English.
Consistency: the part that actually decides the finish
- Semi-dry ("earth-damp") — for classic ironed pointing. Add water gradually until a squeezed handful holds together without water running out. It packs firmly into joints without staining slab faces.
- Wet/slurry mix — flows into joints fast, but on porous natural stone a wet mix is a staining risk; on porcelain it's more forgiving but still wants washing off the face the same day. If you like the flowing-grout method, a purpose-made flowable jointing grout (e.g. Flowpoint) is engineered for exactly this and cures fast.
How to point a patio with sand and cement
- Wait for the bed. Point 24–48 hours after laying, once slabs are firm (the complete patio guide covers the sequence).
- Pick your weather. A dry, frost-free day and a dry forecast for 24 hours. Rain on fresh pointing washes cement across slab faces.
- Clean the joints. Rake out debris to a consistent depth — joints need at least ~20mm of depth to hold.
- Mix 4:1 semi-dry in small batches.
- Pack the joints with a pointing trowel, pressing firmly in layers — voids are where frost gets in.
- Strike the finish. Once the mortar is thumb-firm, iron it smooth with a pointing bar for a slightly concave, water-shedding face.
- Keep everything clean as you go. Brush crumbs off the face while they're dry — never smear.
- Cure. Keep traffic off for 24–48 hours; in hot weather, a light mist stops it drying too fast and cracking.
Sand and cement vs brush-in compounds
The honest comparison, since this is the decision most people are really making:
- Sand and cement — cheapest by far, strongest when done well, any colour you can mix. But it's slow, skill-dependent, weather-dependent, and it stains careless work. It's the traditional choice for natural stone with wide joints.
- Brush-in (polymeric) compounds — swept in, struck off, done in a fraction of the time, no mixing, consistent colour from the tub (e.g. PremJoint). They cost more per metre and joints generally need re-topping sooner than well-ironed mortar, but for most DIYers the speed and consistency win.
- Resin/epoxy systems — the premium tier for durability and stain resistance (e.g. Rompox Easy); the epoxy vs cement guide compares them properly.
For the full product-by-product breakdown, see the best grout guide; for overall method options (including slurry grouting), the how-to-grout guide.
Mistakes that ruin pointing
- Too much water — the number-one error. Wet mixes shrink, crack, and smear cement across the paving.
- Mixing huge batches — mortar going off in the barrow gets "knocked up" with more water, which weakens it. Small batches, used fresh.
- Underfilled joints — a thin cap over a void pops off in the first frost. Pack in layers, full depth.
- Pointing in rain or frost — rain washes it out; frost destroys uncured cement. Below about 5°C, wait.
- Leaving residue overnight — on porcelain it's a stubborn haze, on sandstone it can be permanent. Clean the face the same day (and if you're too late, the cement-removal guide is the rescue plan).
How much mortar will you need?
It depends on joint width and depth rather than area alone — wide-jointed natural stone drinks mortar, tight 5mm porcelain joints sip it. Buy sand and cement with a margin; both keep for the next job if stored dry. And if you're still at the planning stage, the coverage calculator sizes the slabs and packs so the jointing sums have something to sit on.
Work out your exact order in seconds
Our coverage calculator turns your patio size into the precise number of slabs and packs — 10% waste allowance included.
Free delivery, £0.98 samples, breakage guarantee
Every order ships free with no minimum spend. Order a £0.98 sample first, choose your delivery date, and if a slab arrives broken we replace it — no quibbling.
Frequently asked questions
What is the best mix ratio for patio grout?
4 parts sharp sand to 1 part cement is the standard patio pointing mix, mixed semi-dry so a squeezed handful holds its shape. Use 3:1 for driveways and heavy-wear areas.
Should patio pointing mix be wet or dry?
Semi-dry ("earth-damp") for traditional pointing — firm enough to ball in your hand without water running out. Wet slurry mixes flow faster but risk staining, especially on porous natural stone; purpose-made flowable grouts handle that method better.
Is sand and cement better than brush-in jointing compound?
Well-executed sand-and-cement pointing is stronger and much cheaper; brush-in compounds are far faster, cleaner and more consistent for non-professionals. For most DIY patios the compound wins on the weekend test; for wide-jointed natural stone, traditional mortar still earns its keep.
Can I use building sand for pointing a patio?
Sharp sand should be the backbone of a paving joint — building sand alone makes a weaker, shrink-prone joint. Some installers blend a little building sand for a smoother struck face, which is fine in moderation.
How long does patio pointing take to dry?
Keep foot traffic off for 24–48 hours. Full cure strength builds over days to weeks depending on temperature — avoid pressure washing fresh joints for at least a couple of weeks.
Why is my patio pointing cracking?
Usually too much water in the mix, joints filled in one thin wet pass over voids, or pointing done in hot sun so it dried too fast. Rake out failed sections and repoint semi-dry, packed in firm layers.