
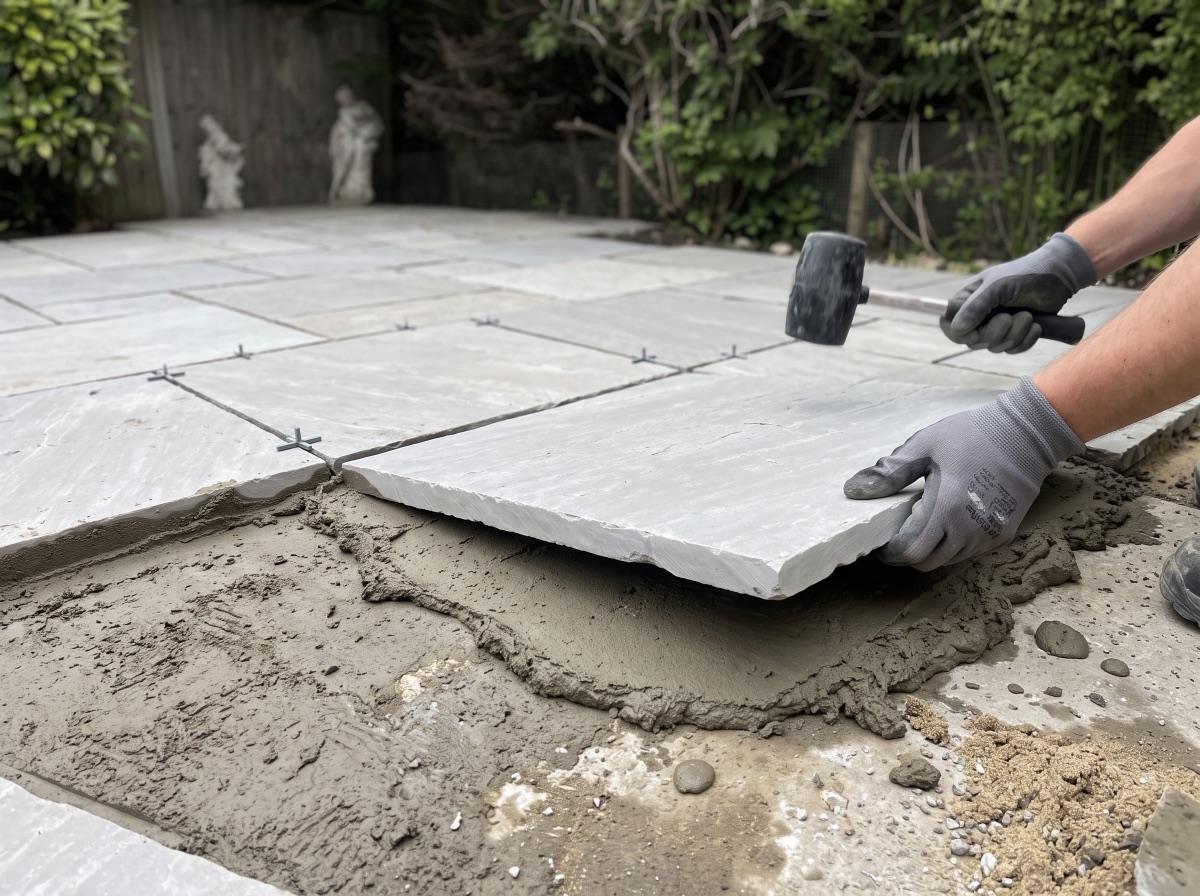
Lay paving on 100–150mm of compacted MOT Type 1, a full mortar bed and 8–10mm joints, with a fall of at least 1:80 for drainage. Porcelain needs a priming slurry on the slab back; sandstone benefits from sealing. Here is the full step-by-step, from excavation to jointing.
Getting the ground right matters more than the slab you choose — a well-laid budget slab will outlast a premium slab on a poor base. This guide covers the full sequence for both porcelain and natural sandstone, including the Kandla Grey range, and flags where the two materials differ.
Before you start: the three numbers that matter
- Excavation depth — typically 150mm for a patio (pedestrian) or 200mm+ for a driveway (vehicular), to allow for sub-base, bedding and slab thickness.
- Fall (drainage gradient) — a minimum of 1:80 away from the house or boundary so surface water doesn't pool or track back towards a building.
- DPC clearance — finished paving should sit at least 150mm below the damp-proof course of any adjoining wall.
Materials and tools
- MOT Type 1 sub-base material, sharp sand and cement (for the bedding mortar), priming slurry or SBR primer (essential for porcelain), jointing compound or mortar.
- String lines and pegs, spirit level, rubber mallet, plate compactor (hireable), shovel, wheelbarrow, trowel, and a wet saw with a diamond blade for cuts.
- PPE: gloves, eye protection, dust mask when cutting, and knee pads. Wet cement burns skin — wash off splashes promptly.
Step 1: Mark out and excavate
Set string lines to the finished level, including the fall (at least 1:80 away from the building). Excavate to roughly 150mm below finished level for a patio — deeper for driveways — removing all topsoil and vegetation until you reach firm, undisturbed ground. Soft spots dug out now save sunken slabs later.
Step 2: Build and compact the sub-base
Lay MOT Type 1 in layers of no more than 50–75mm, compacting each pass with a plate compactor, to a finished compacted depth of 100–150mm for patios (more for driveways carrying vehicle loads). The surface should be tight, level to your falls, and firm enough to walk on without leaving impressions.
Step 3: Mix the bedding mortar
A full mortar bed is the standard for both materials: mix sharp sand and cement at roughly 4:1 to a moist, "semi-dry" consistency that holds its shape when squeezed. Never spot-bond (dabs of mortar under the corners) — it leaves voids that crack slabs, drum underfoot and, on porcelain, show as reflective staining.
Step 4: Prime the slabs
For porcelain this step is essential: brush a cement-based priming slurry (or SBR-based primer) onto the back of each slab just before laying. Porcelain's near-zero porosity means it won't draw moisture from the mortar the way natural stone does, so without a bond bridge the slab can debond. For natural sandstone a priming slurry is good practice too, particularly on larger-format slabs; at minimum, dampen the stone's back.
Step 5: Lay to line and level
Lay each slab onto a full 30–50mm mortar bed and tap down to the string line with a rubber mallet, checking the fall as you go. Keep joints consistent — 8–10mm is typical for both materials. Cut with a diamond blade on a wet saw, keeping factory edges to the visible perimeter where possible, and seal cut edges of natural stone before installation to reduce staining at the joint.
Step 6: Joint and finish
Once the bedding mortar has gone off (typically 24–48 hours, weather dependent), fill the joints with a purpose-made jointing compound or pointing mortar — never leave joints unfilled, as open joints invite weed growth and edge damage. Keep foot traffic off the area until the jointing has cured per the manufacturer's guidance.
Sealing: porcelain vs sandstone
Porcelain generally does not need sealing — it is largely non-porous by design. Natural sandstone is more porous and commonly benefits from an impregnating sealer to reduce staining and make routine cleaning easier; porosity varies by quarry and finish, so check the specific stone's guidance.
Working out how much you need
Use the coverage calculator to convert your dimensions into slabs, packs and total m² — it rounds up and adds a cuts-and-breakage allowance so you don't come up short. If you're ordering the flagship Kandla Grey range, the calculator works from the same pack sizes shown on the product page.
A note on delivery
Paving is heavy — a full pallet delivery needs kerbside or driveway access for the delivery vehicle. See the delivery page for zone lead times and access requirements before you commit to a lay date.
Work out your exact order in seconds
Our coverage calculator turns your patio size into the precise number of slabs and packs — 10% waste allowance included.
Free delivery, £0.98 samples, breakage guarantee
Every order ships free with no minimum spend. Order a £0.98 sample first, choose your delivery date, and if a slab arrives broken we replace it — no quibbling.
Frequently asked questions
Do I need to seal porcelain paving?
No — porcelain is manufactured to be extremely low-porosity, so sealing generally isn't required. Natural sandstone is more porous and often benefits from an impregnating sealer.
What joint width should I use for paving slabs?
8–10mm is standard for both porcelain and sandstone paving, kept consistent across the whole area for a neat finish.
How deep should the sub-base be under a patio?
As a guide, 100–150mm of compacted MOT Type 1 for a pedestrian patio, and 150–200mm+ for a driveway carrying vehicle loads — always allow for adequate falls for drainage.
Why does porcelain paving need a priming slurry?
Porcelain absorbs almost no water, so it won't bond to a plain mortar bed the way natural stone does. A cement-based priming slurry brushed onto the back of each slab creates the bond bridge that stops slabs debonding.
Can I lay paving slabs on dabs of mortar (spot bonding)?
No. Spot bonding leaves voids under the slab that cause cracking, rocking and staining. Always lay on a full mortar bed.