
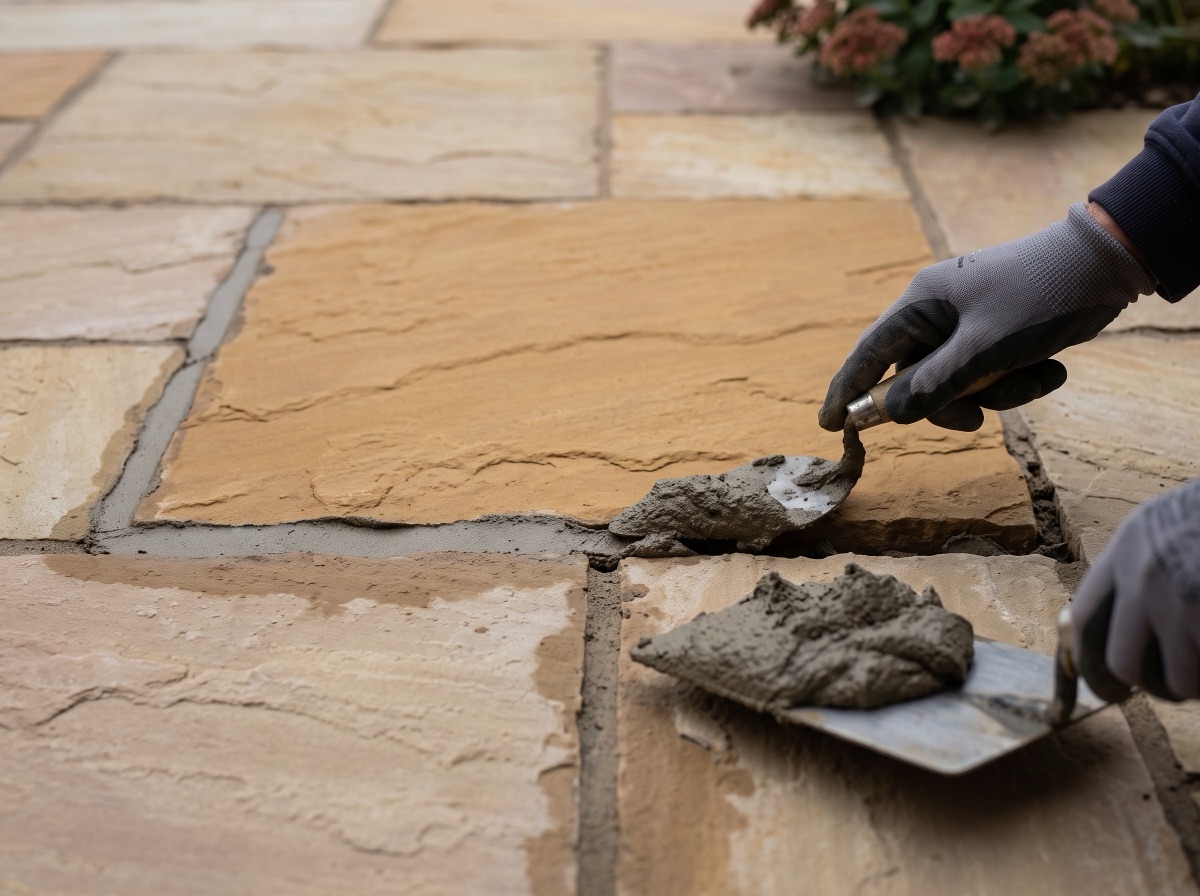
There are four proven ways to grout (point) paving slabs: traditional sand-and-cement mortar, ready-mixed brush-in compounds, flowable grouts and two-part epoxy mortars. Brush-in compounds are the easiest for DIY; epoxy and flowable grouts are the most durable for porcelain. Here is how to choose and apply each.
Grouting (pointing) is what locks a patio together. Filled joints stop slabs shifting laterally, keep water out of the bedding, block weed growth and finish the job visually. There are four proven methods — traditional sand-and-cement, ready-mixed brush-in compounds, flowable grouts and two-part epoxy mortars — and the right one depends on your slab material, joint width and how much working time you want.
Why grouting matters
- Structure — filled joints brace slabs against each other so edges don't chip and slabs don't creep.
- Water management — open joints funnel rain into the bedding layer, which is how frost heave and sunken corners start.
- Weed prevention — weeds don't grow up from below; they seed into open joints from above. A sound joint denies them the foothold.
Method 1: Traditional sand-and-cement pointing
The classic: mix sharp sand and cement (about 3:1 or 4:1) to a barely-damp consistency, press it firmly into the joints with a pointing trowel or bar, and strike it smooth. Cheapest by far and matches period work, but it's slow, weather-dependent (rain ruins it, heat cracks it) and the one most likely to stain slab faces if you're careless. Work off a board, keep mortar off the surface, and never wipe smears across the slab — lift them off.
Method 2: Ready-mixed brush-in jointing compounds
Air-curing resin-bound sand supplied wet in a tub — for most DIY patios this is the best balance of speed, finish and durability. Soak the paving, tip the compound out, and brush it diagonally into the joints with a squeegee or soft broom, topping up until the joint is full, then brush the surface clean before it cures. Products like Ultrascape Premjoint and Romex Rompox Easy work exactly this way. Joints usually need to be at least ~20mm deep and a few mm wide — check the tub for the minimums.
Method 3: Flowable (slurry-applied) grouts
Cement-based grouts mixed to a pourable slurry and squeegeed across the whole surface into the joints — the fastest method for large porcelain areas with narrow, consistent joints, and the standard commercial approach. Speed is the win; the discipline is washing the face off thoroughly before it films over. Ultrascape Flowpoint is the type example, rapid-setting and walkable quickly. Test a small area first on textured or riven finishes, which hold slurry residue more than smooth faces.
Method 4: Two-part epoxy jointing mortars
Resin plus hardener mixed on site — the most durable and stain-resistant joint of all, effectively impermeable, and the premium choice around pools or for heavily-trafficked porcelain. The trade-offs: shortest working time, least forgiving cleanup, and the highest price. Mix only what you can place within the pot life, and rinse the face in stages as you go.
Which method for which job?
- Porcelain patio, DIY — brush-in compound for wide joints; flowable grout for narrow joints across big areas. See the porcelain grout guide for the detail.
- Natural sandstone with 10mm+ joints — brush-in compound, or sand-and-cement if you want the traditional struck finish.
- Pool surrounds, driveways, commercial — epoxy or flowable, for strength and stain resistance.
- Block paving — none of the above: block paving is jointed with kiln-dried sand (see re-sanding block paving).
Step 1: Let the bed cure and check the weather
Joint only after the bedding mortar has gone off (24–48 hours after laying) and on a day with no rain forecast for the product's initial cure — moisture is the main cause of failed or stained joints for cement methods, while brush-in compounds actually want a pre-soaked (but not flooded) surface. Read the tub before you start.
Step 2: Prepare the joints
Rake out debris and any bedding mortar that has squeezed up, to give the full joint depth the product specifies (typically 20mm+). Brush the whole area clean.
Step 3: Fill the joints
Apply by your chosen method — pressed in with a trowel (mortar), brushed in diagonally (compound), or squeegeed as a slurry (flowable/epoxy). Fill completely: half-filled joints fail from the bottom up. Compact compounds into the joint with the edge of the squeegee or a pointing bar.
Step 4: Clean the face before it cures
Strike or tool mortar joints smooth and brush away crumbs once "thumb-print" dry; wash or brush residues off compound and slurry methods within the manufacturer's window. On riven or textured slabs, over-wash rather than under-wash — cured residue is a cement-remover job (see removing dried cement).
Step 5: Protect while it cures
Keep foot traffic off until the product's stated cure (from a few hours for rapid-set flowable grout to a day or more for traditional mortar), and cover against sudden rain if the label calls for it.
Work out your exact order in seconds
Our coverage calculator turns your patio size into the precise number of slabs and packs — 10% waste allowance included.
Free delivery, £0.98 samples, breakage guarantee
Every order ships free with no minimum spend. Order a £0.98 sample first, choose your delivery date, and if a slab arrives broken we replace it — no quibbling.
Frequently asked questions
What is the best grouting method for paving slabs?
For most DIY patios, a ready-mixed brush-in jointing compound — fast, clean and durable on joints a few mm wide and 20mm+ deep. Flowable grout is best for large porcelain areas with narrow joints; two-part epoxy is the most durable of all; sand-and-cement is the traditional, cheapest option.
How do you grout between paving slabs without staining?
Keep mortar off the slab face (lift, never wipe smears), pre-wet the surface for brush-in and slurry products, wash residues off within the product's stated window, and test textured slabs on a small area first.
Can I use ordinary cement as grout for paving?
A sharp sand and cement mix (about 3:1–4:1) is the traditional pointing method and works well when applied carefully in dry weather — but it is slower, weather-sensitive and more prone to cracking and staining than purpose-made jointing products.
How do I dry-grout paving slabs?
Brushing a dry sand-cement mix into the joints and relying on ground moisture is quick but gives the weakest, most stain-prone joint, and most manufacturers and installers no longer recommend it. A brush-in compound gives the same speed with far better results.
What joint width do paving slabs need?
Typically 8–10mm for sandstone and 5mm+ for porcelain, kept consistent. Check your jointing product's minimum width and depth — most compounds want at least a few mm of width and around 20mm of depth.
How long before I can walk on grouted paving?
It depends on the product: rapid-setting flowable grouts can take foot traffic in a few hours, brush-in compounds typically 24 hours, and traditional mortar pointing 24–48 hours. Check the manufacturer's cure times.