
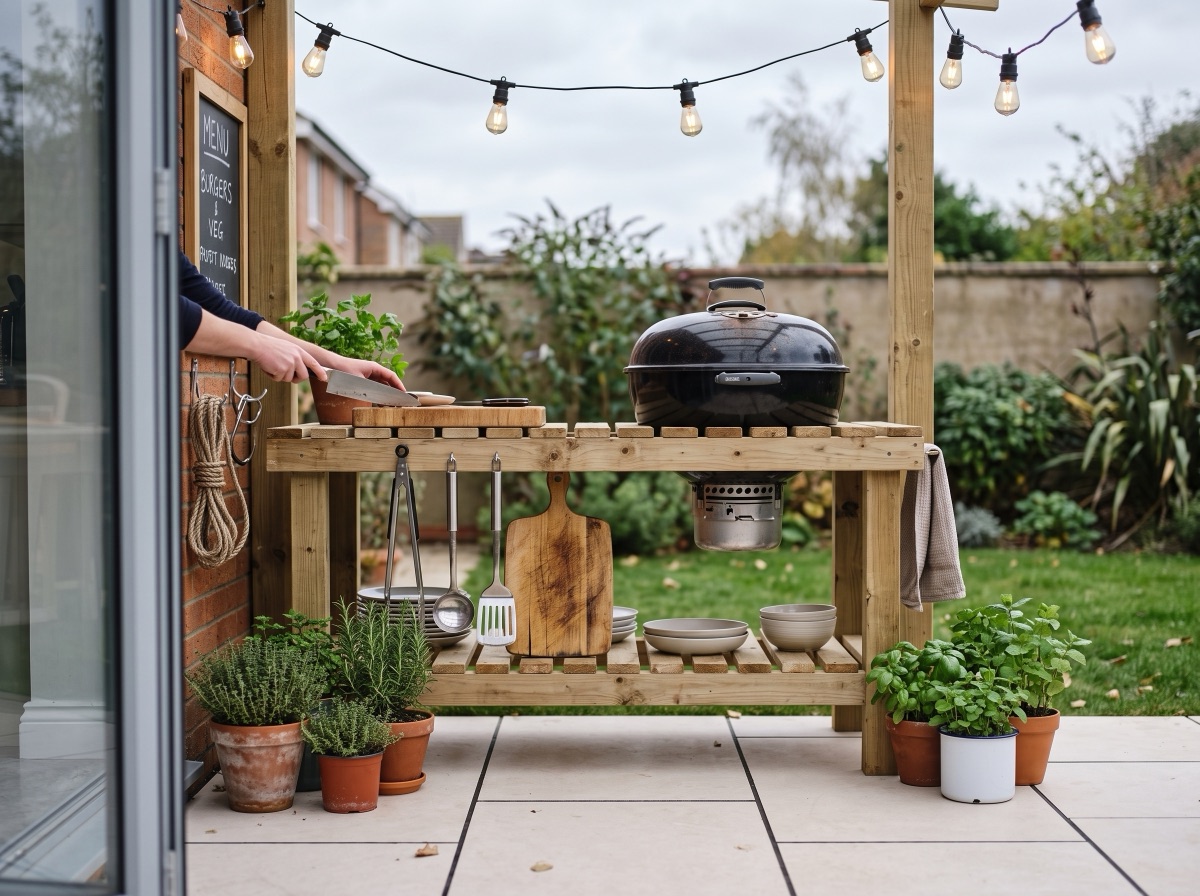
An expensive-looking outdoor kitchen comes from three cheap decisions: a clean porcelain-paved base, a simple straight-run layout built from blockwork or modular units, and one splurge item (usually the grill). Spend on the surfaces people touch; save on the structure they never see.
The expensive look is mostly surfaces and straight lines, not appliances. A level porcelain-paved base, a simple straight-run counter in rendered blockwork or modular units, and one genuinely good appliance will out-style a five-figure kit kitchen plonked on tired decking. Spend where hands and eyes land — the floor, the worktop, the grill — and save everywhere else.
Start with the base — it makes or breaks the look
Nothing undermines an outdoor kitchen like an uneven floor. A porcelain-paved base is the strongest budget move you can make: batch-consistent colour, wipe-clean against fat and wine spills, no sealing ever, and an anti-slip finish where you're carrying hot pans (anti-slip range, R-ratings explained). A grey large-format slab like Kandla Grey porcelain reads unmistakably "designed", and the build-up is a standard patio job (ground prep guide) sized in minutes with the coverage calculator. Cooking areas are exactly where porcelain beats natural stone — sandstone wants sealing before it meets olive oil (comparison).
Plan around what you already have
Siting the kitchen against an existing wall, on an existing patio, or close to the house saves real money three ways: structure you don't build, shelter you don't buy, and shorter runs for anything you do plumb or wire in. Keep the cooking zone a few steps — not a hike — from the indoor kitchen, and downwind of seating.
Build the counter cheaply: three routes
- Concrete blockwork, rendered or clad — the classic self-build: lay a straight run of blocks, render it or clad it in stone-effect tiles or timber slats, top with a worktop. Robust, genuinely cheap, and it photographs like masonry because it is.
- Modular units / flat-pack outdoor cabinets — fastest route; you're paying for convenience, so keep the run simple and spend the savings on the worktop.
- Timber frame with cement board — light and cheap; clad it and keep all timber well clear of the grill.
Whatever the structure, a straight run or an L is the budget sweet spot — islands and U-shapes multiply worktop, footings and cost.
The worktop: one honest splurge candidate
Porcelain slabs, granite offcuts or a poured-concrete top all shrug off weather; timber needs oiling and a chopping board culture. Large-format porcelain paving slabs themselves make an excellent counter surface on a solid base — colour-matched to the floor, they tie the whole build together for the cost of a slab or two.
Appliances: one hero, the rest humble
A freestanding BBQ dropped into a blockwork surround delivers 90% of the built-in look for a fraction of a built-in price. Choose one hero — a decent grill, a pizza oven — and resist the drinks fridge until you know you'll actually run power out there. Bottled-gas rings and coolboxes do the supporting work invisibly.
Luxury touches that cost little
- Warm-white festoon or strip lighting under the counter lip — the single biggest "expensive at dusk" trick.
- A consistent hardware finish (matt black or stainless — pick one).
- An outdoor rug zone and planted pots bracketing the counter.
- Matching the paving joint colour to the worktop tone (grout colour guide).
Weatherproofing on a budget
Design for rain rather than fighting it: a slight fall on the base so water runs off (1:80 does it), covers for anything with a burner, marine-grade or stainless fixings, and frost-proof surfaces everywhere — which porcelain and stone are by nature. A sail shade or pergola can come later; the base you lay now should already drain properly.
Budget discipline
Price the project in three buckets — base, structure+worktop, appliances — and let none pass a third of the budget. Build in one season, buy the hero appliance end-of-season, and remember the base is the one part you can't cheaply redo: get the paving right first time.
Work out your exact order in seconds
Our coverage calculator turns your patio size into the precise number of slabs and packs — 10% waste allowance included.
Free delivery, £0.98 samples, breakage guarantee
Every order ships free with no minimum spend. Order a £0.98 sample first, choose your delivery date, and if a slab arrives broken we replace it — no quibbling.
Frequently asked questions
How can I save money on an outdoor kitchen?
Site it against an existing wall or patio, keep the counter to a straight run or an L, build in rendered blockwork with a freestanding BBQ dropped in, and put the savings into the base and worktop — the surfaces that create the expensive look.
Does an outdoor kitchen need a foundation?
It needs a firm, level, properly drained base — for most gardens that's a correctly built patio: compacted MOT Type 1 sub-base, full mortar bed and paving, with a small fall for drainage. Heavy masonry structures may justify a concrete pad under the counter run.
What is the best flooring for an outdoor kitchen?
Porcelain paving is the strongest fit: stain-resistant against fat and wine, wipe-clean, never needs sealing and comes in anti-slip finishes. Natural stone works too but wants sealing near cooking areas.
How to DIY an outdoor kitchen?
Lay the paved base first, build a straight blockwork or timber-and-cement-board counter against an existing wall, top with porcelain or stone, drop in a freestanding BBQ and add lighting. Bring in professionals for any mains gas, water or electrical connections.
What are the disadvantages of an outdoor kitchen?
Weather exposure (everything must be frost- and rain-tolerant), appliance covers and maintenance, the cost of running utilities outdoors, and UK-realistic usage — which is why the budget-first approach of a great base plus one hero appliance makes sense.